Lesson 2. Your First Zap: Automation Without Code#
Why This Matters#
Zaps are the foundation of Zapier. Once you learn to create Zaps, you can automate any routine task for clients.
Key Idea#
Zap = trigger + one or more actions
Every Zap follows simple logic: «When this happens → do that».

Example Task#
You have a contact form on your site. You want submissions to automatically go into a Google Sheet — without manual copying.
Breaking it down:
- Which apps? Form (Google Forms) + spreadsheet (Google Sheets)
- What starts the Zap? New form submission (trigger)
- What does the Zap do? Adds a row to the spreadsheet (action)
- What data to pass? Name, email, message text
Preparation#
Before creating the Zap:
- Create a Google Form with fields (Name, Email, Message)
- Submit a test entry (e.g., "Test User", test@test.com) — Zapier will use this data during setup
- Create a Google Sheet with labeled columns: Name, Email, Message, Source
Tip: use fictional names for tests (superheroes, characters) so you don't mix them up with real data.
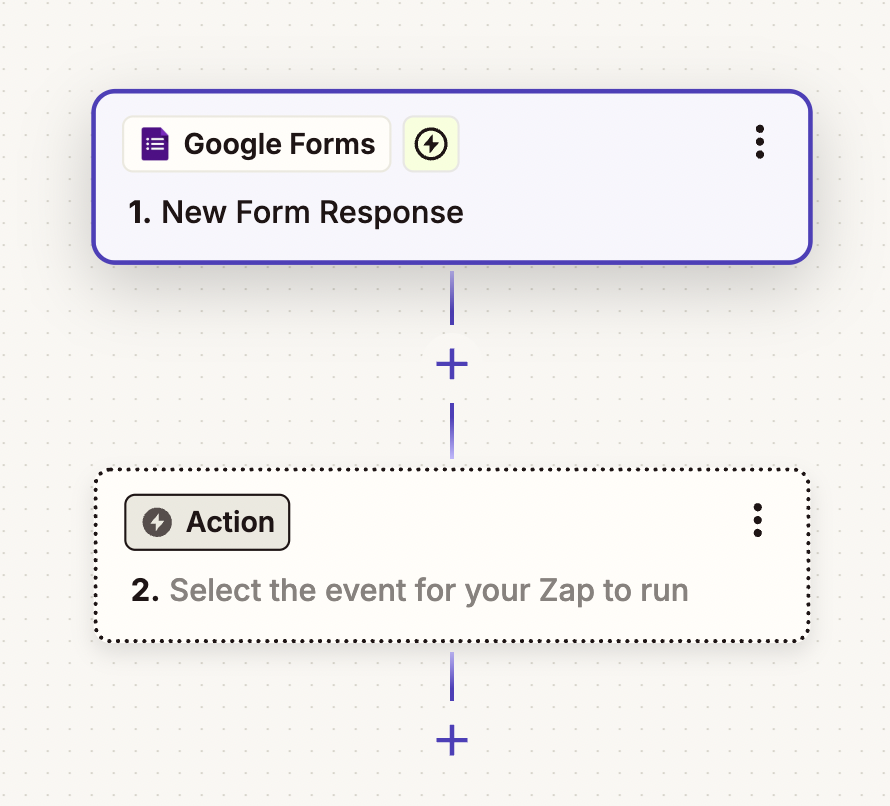
Step 1: Setting Up the Trigger#
- Open Zap Editor (click "+ Create" → "Zaps")
- Select trigger app (Google Forms)
- Select trigger event — «New Form Response»
- Connect your Google account (Zapier will ask for authorization)
- Choose the specific form from the list
Note: trigger events vary by app. Google Sheets uses «New Spreadsheet Row», Telegram uses «New Message», Typeform uses «New Entry».
Step 2: Testing the Trigger#
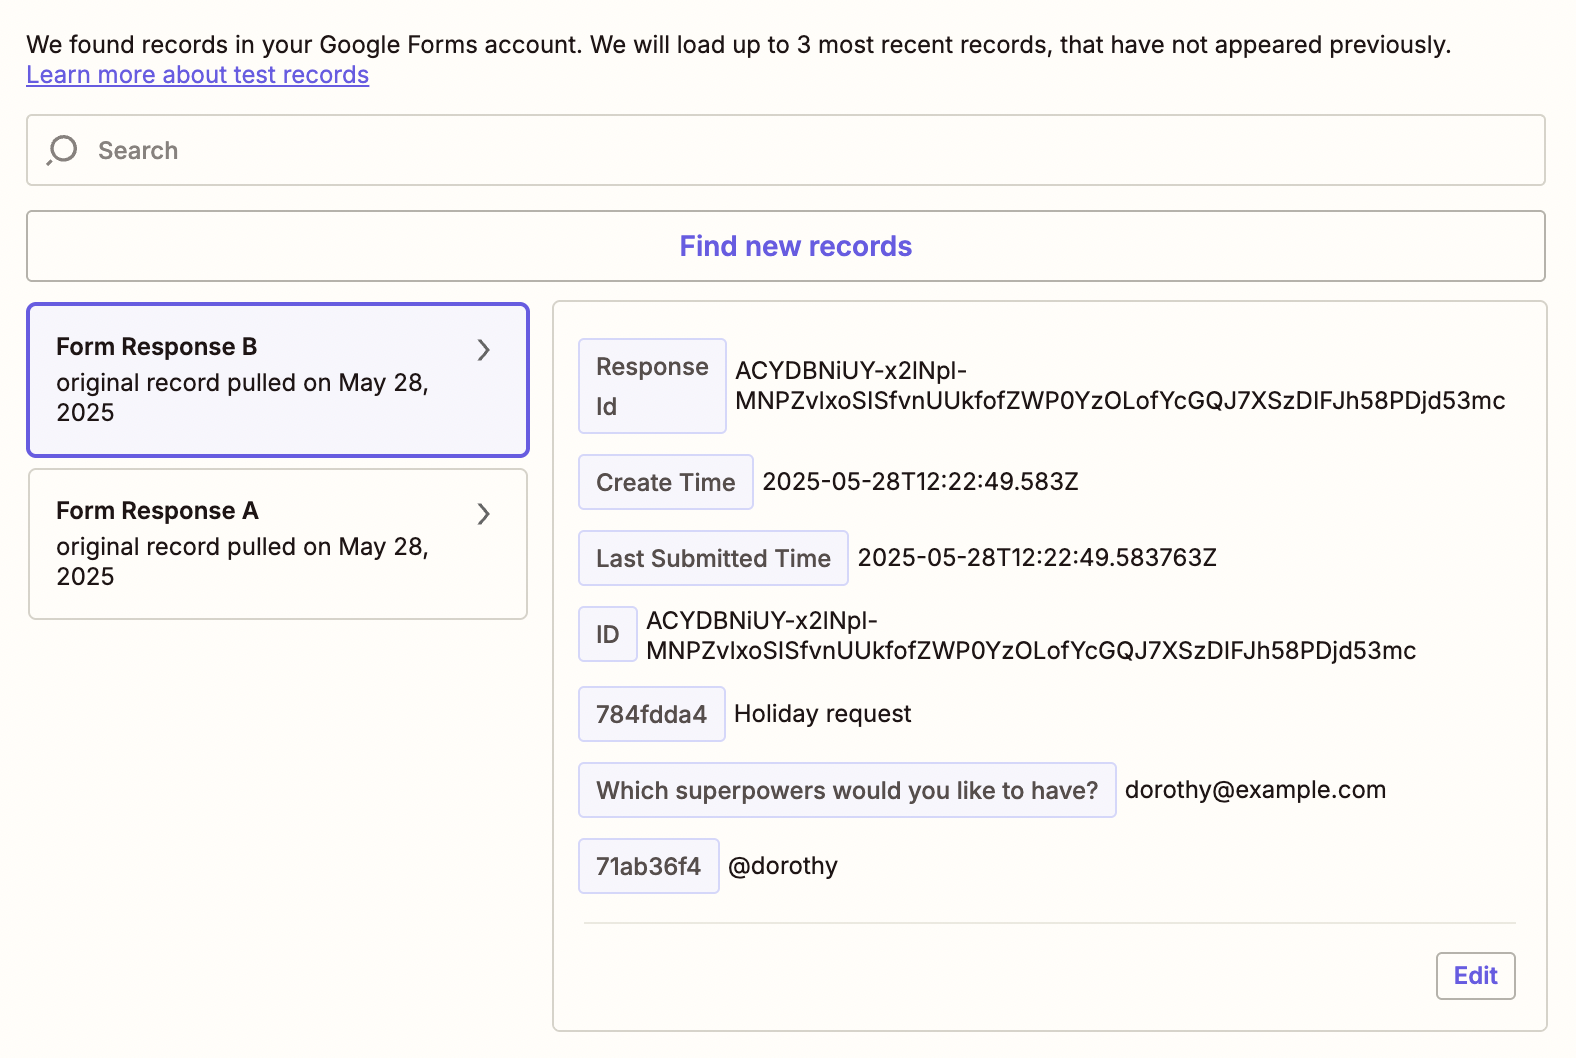
- Click "Test trigger"
- Zapier will find the latest submission from your form
- Verify the data pulled correctly
- Click "Continue with selected record"
Important: Zapier only reads data when testing the trigger — it doesn't change anything in your form.
Step 3: Setting Up the Action#
- Select action app (Google Sheets)
- Select event — «Create Spreadsheet Row»
- Connect your Google account
- Choose the specific spreadsheet and sheet
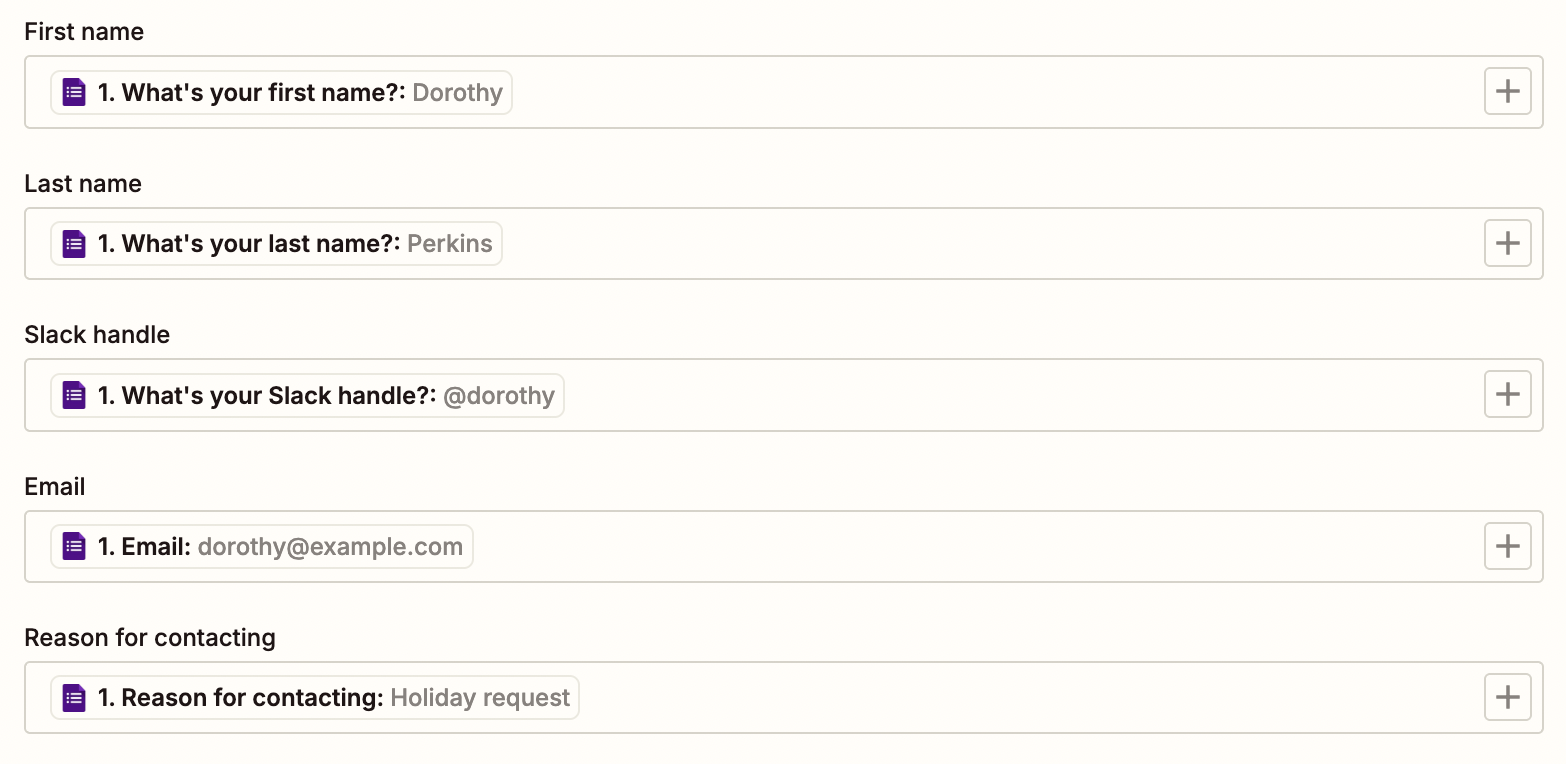
Step 4: Field Mapping (Most Important!)#
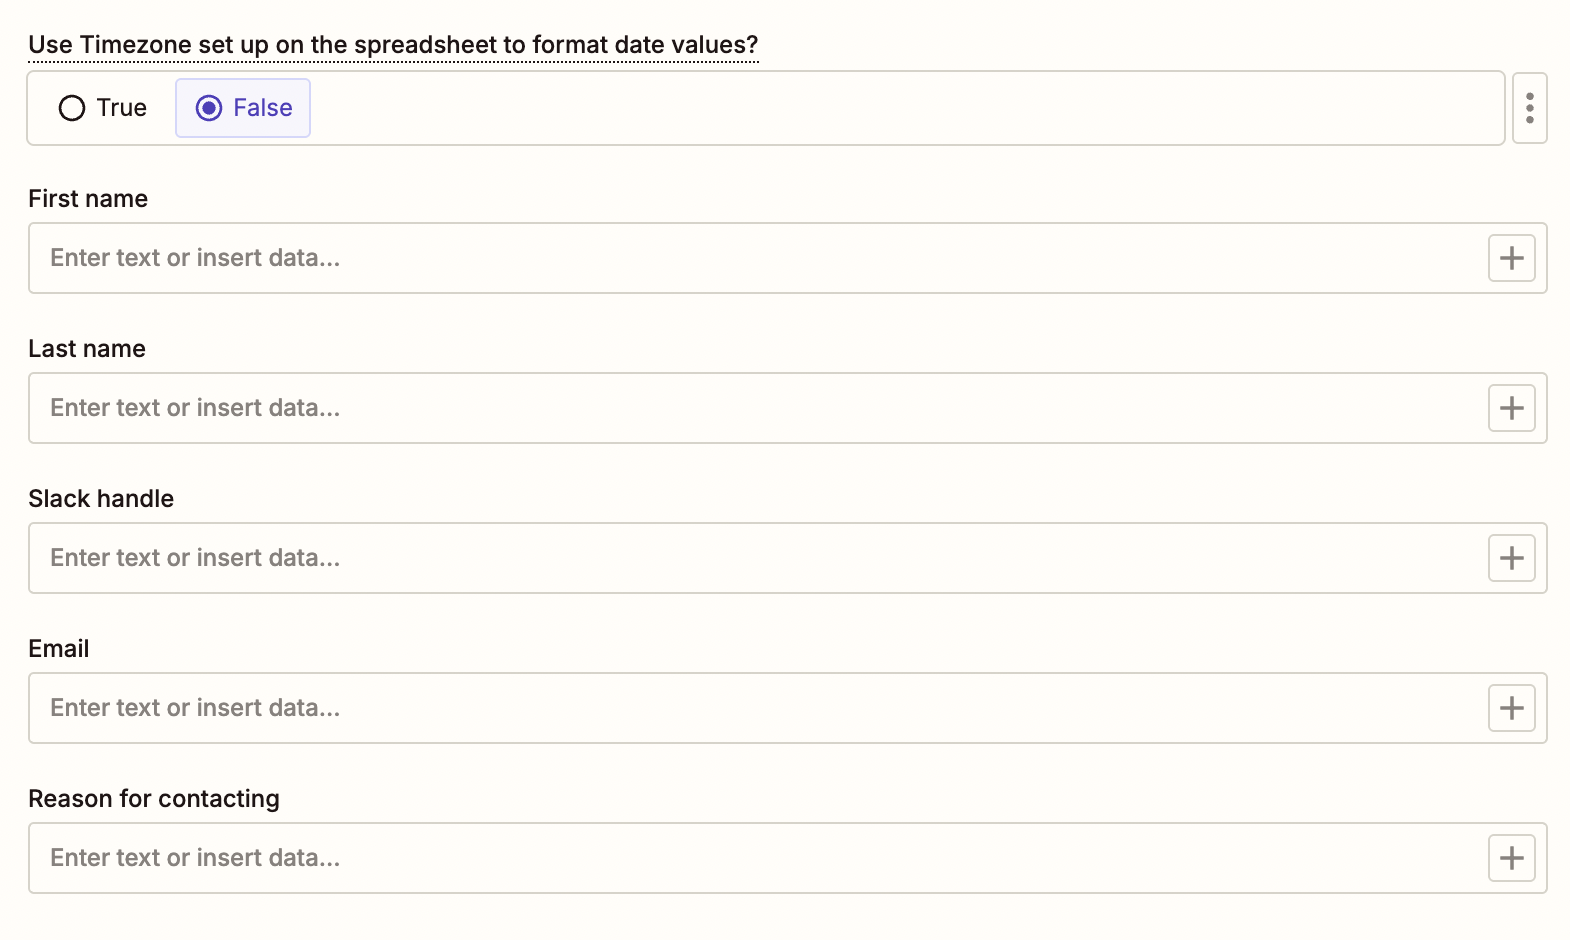
Mapping is when you tell Zapier which data from the trigger goes where.
- You'll see your table fields (Name, Email, Message, Source) — that's why labeling columns matters!
- Click "+" or type "/" in a field — a list of trigger data will appear

- Choose which form data goes where:
- «Name» field → form «Name» data
- «Email» field → form «Email» data
- «Message» field → form «Message» data
- «Source» field → enter «Contact form» (fixed value)
Tip: what you see in the editor is test data. When the Zap runs, real form data will be used.
Step 5: Testing and Publishing#
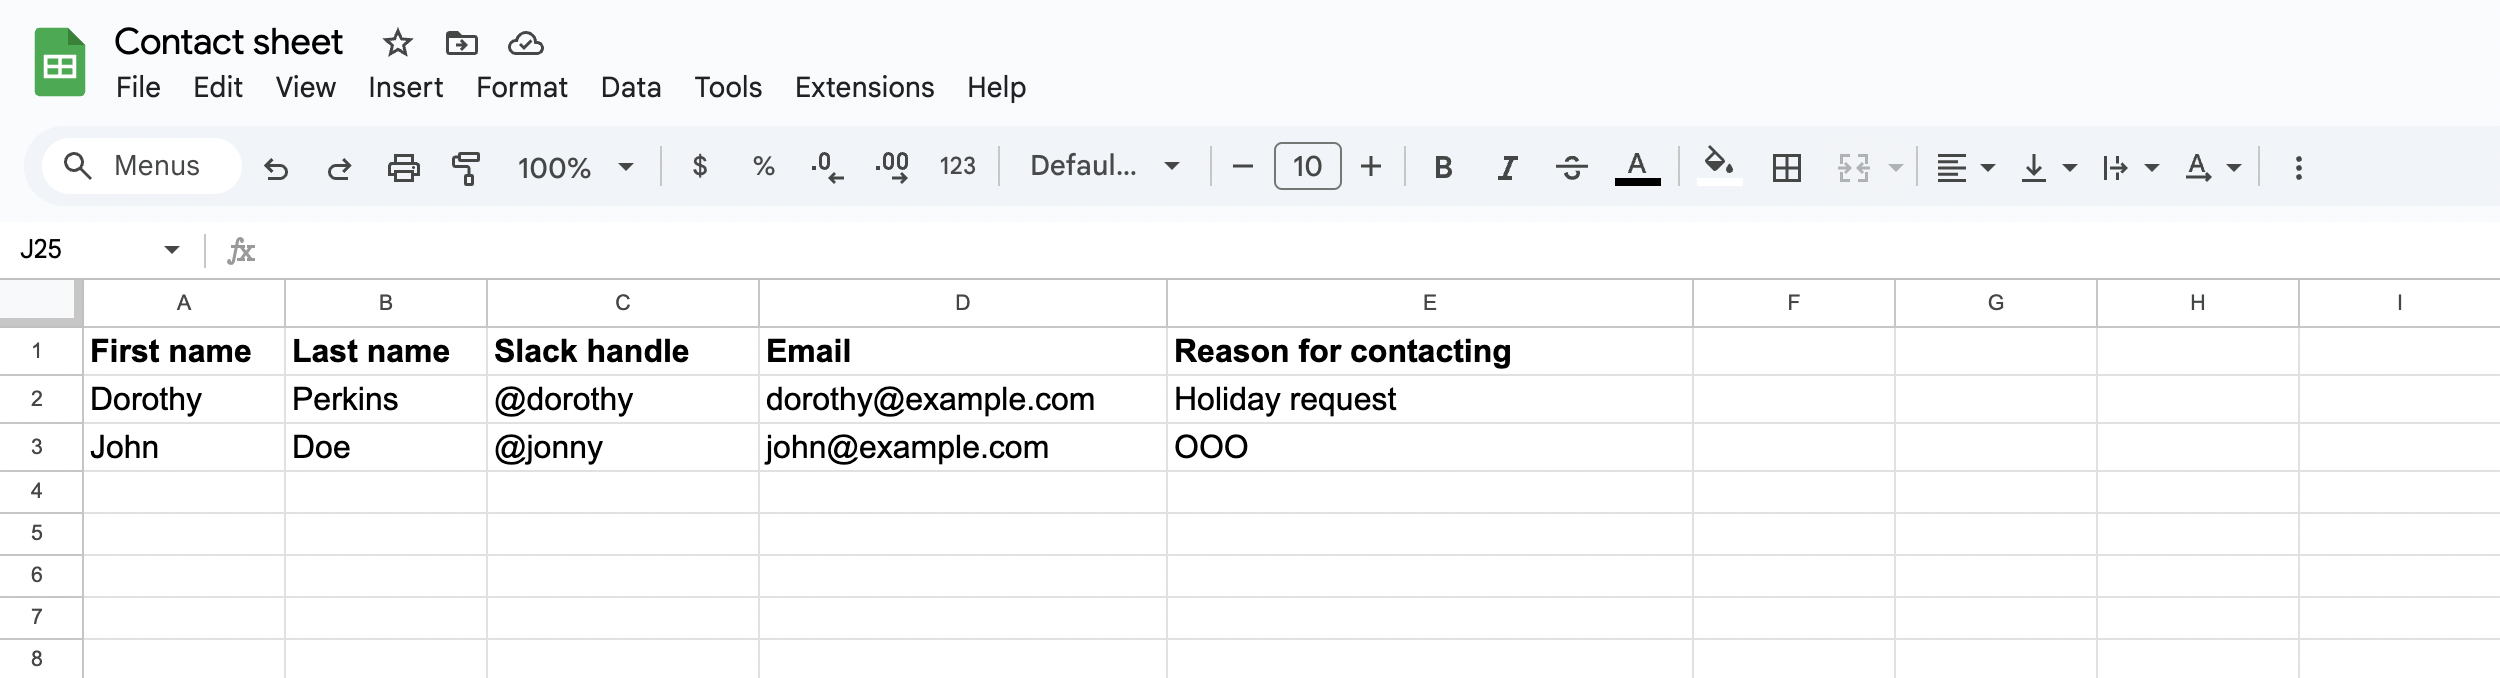
- Click "Test step" — Zapier will actually perform the action
- Verify the row appeared in your Google Sheet
- If everything looks correct, click "Publish"
Important: when testing, the Zap really adds a row to the table. Use test data so you don't clutter real spreadsheets!
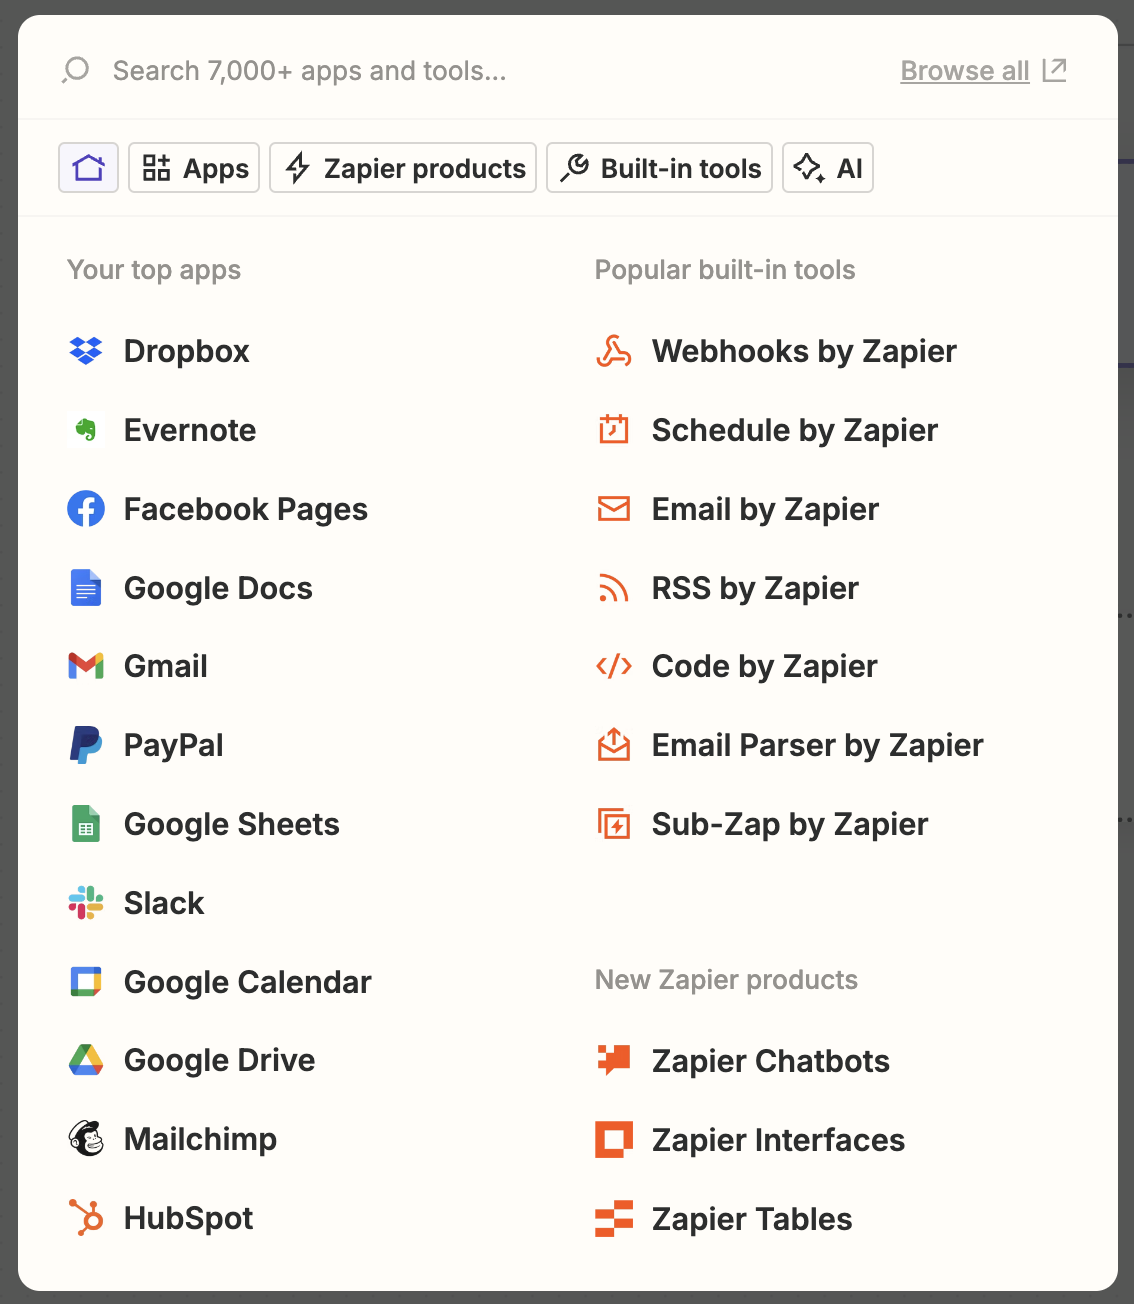
Zap Templates#
You don't have to create a Zap from scratch — the Zapier app directory has thousands of ready-made templates. Pick a template, connect your accounts, and adjust the details.
Common Mistakes#
❌ Didn't test the trigger: no test data in the form
→ Submit at least one test entry
❌ Didn't label columns: spreadsheet has no headers
→ Zapier can't figure out where to write data
❌ Skipped testing: didn't verify the Zap works
→ Always test before publishing
✅ Good Zap: clear trigger + correct mapping + tested